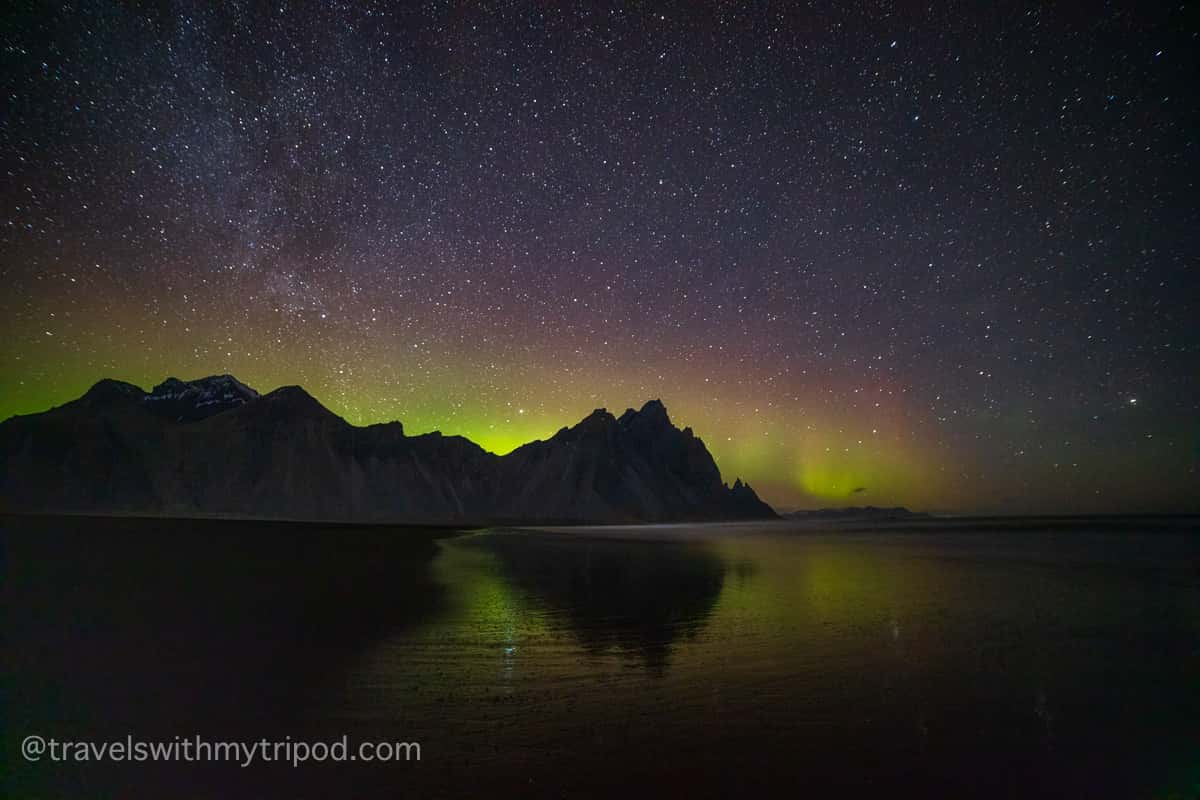
You always remember your first time. Mine was standing on a beach in almost complete darkness, feet sinking into the black, wet sand as the waves crashed onto the shore nearby. My cold fingers fumbled with the controls of my camera, guided by touch alone.
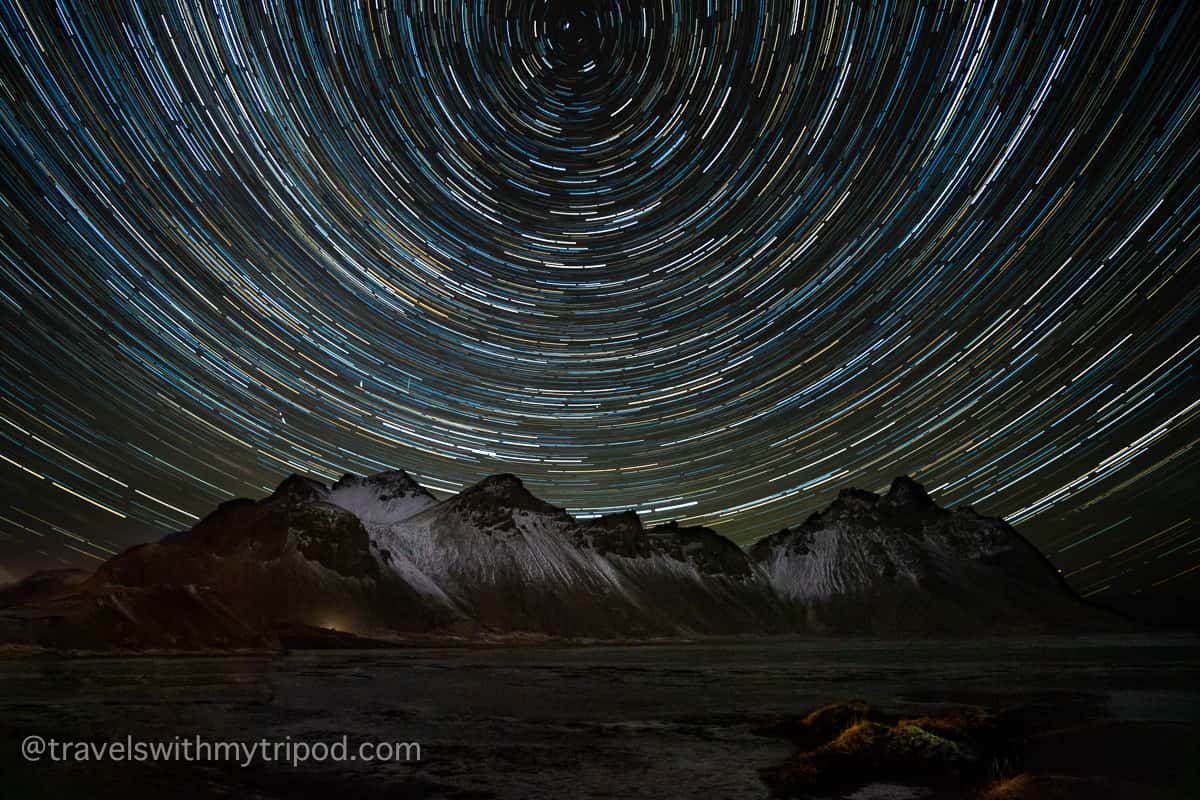
I was on Stokksnes beach on the South-East corner of Iceland, looking towards Vestrahorn – an imposing 454 meter high mountain reaching up to touch the dark sky. I was with a group of fellow photographers, and we had headed out after dinner in the hope of capturing some incredible photos of the Northern Lights.
This was my first time at Vestrahorn – in fact my first time in Iceland, and my first time trying to photograph the Northern Lights. It was dark – very dark. I was one of the last to leave the van as I wanted to change lenses and make sure my camera was set correctly while I had some light and shelter. I set off in pursuit of the group – most of whom were familiar with the area, and the numerous large mounds of volcanic sand that stand between the road and the beach.
Contents
- Give me light
- Reality vs expectations
- Frequently Asked Questions
- What are the Northern Lights?
- What month is best to see the Northern Lights in Iceland?
- Can you take pictures of the Northern Lights with a mobile phone?
- What camera is best for photographing the Northern Lights?
- What lens is best for photographing the Northern Lights?
- Where are the best places to see the Northern Lights in Iceland?
- What camera settings should I use?
- What are the best conditions?
- What clothes should I wear?
Give me light
With no idea of where I was I needed to see where I was going, however my cheap head torch didn’t really pierce the darkness, but gently prodded it like a soft carrot. I tripped and stumbled across the sand, trying to keep up with the rest of the group who by now were just small dots of light in the distance. After what seemed like an eternity, I finally made it to the beach, relieved not to be lost in the wilderness of Iceland at night, and set up my camera and tripod.
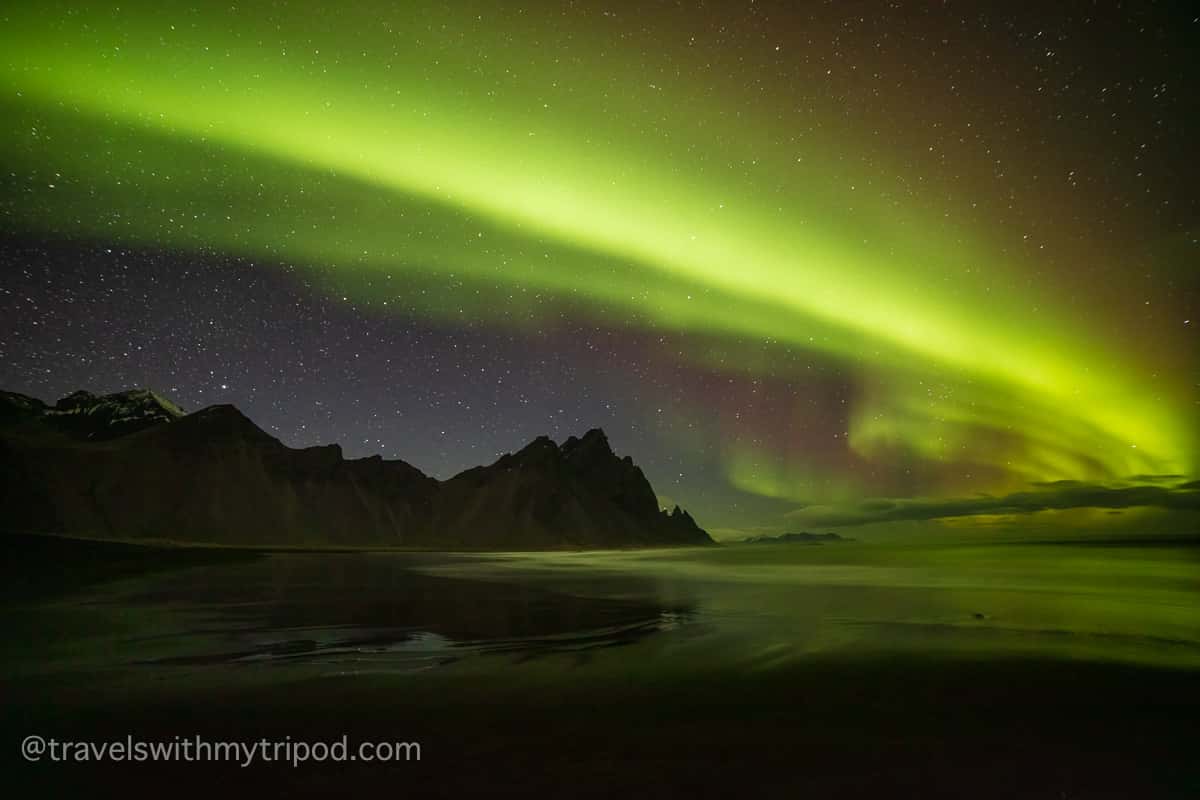
I aimed the lens in what I hoped was the right direction, as it was almost impossible to see anything through the viewfinder in the darkness. I pressed the shutter and waited; my cold fingers crossed for luck. The red light on the back of my camera glowed. 15 seconds later my first aurora photo appeared on the screen on the back of my camera. Finally – I’d photographed the Northern Lights!
As the lights danced across the sky, I adjusted my camera to change composition and took many more photos – always keeping an ear open for a rogue wave rushing up the sand determined to pour freezing cold sea water inside my warm and dry boots.
Eventually the lights faded, some cloud rolled in, and it was clear that we’d seen the best of them. It was time to pack up, walk back to the van and look forward to a warm bed – after downloading my photos of course, and seeing what I had captured.
Reality vs expectations
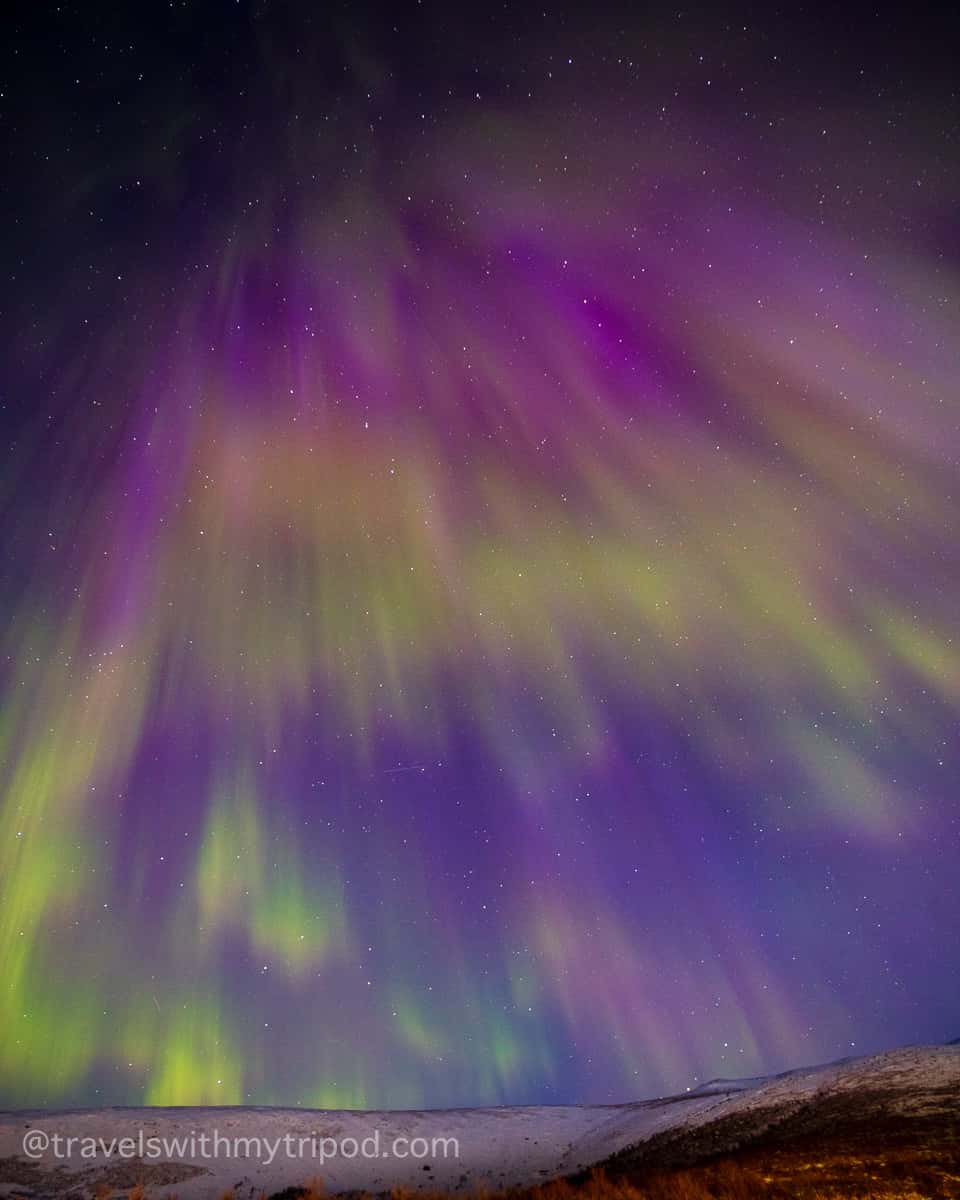
One thing struck me about my first experience with the Northern Lights, and that was how different they look in real life. Instead of the vivid green swirling lights I expected, it was just a faint white glow slowly swirling around the sky. You could vaguealy detect a little bit of colour sometimes, but it wasn’t anything like I had imagined. Of course, a camera sensor is much better to pick up low levels of light than the human eye, and with a long enough exposure the camera sees exactly what I was expecting to see.
I’ve been back to Iceland again, and have photographed the Northern Lights a few more times – each as magical as the first. I’d like to share my experiences, and pass on some of the tips I’ve picked up along the way.
Frequently Asked Questions
What are the Northern Lights?
The Northern Lights (also known as aurora borealis) are beautiful dancing waves of lights in the sky caused by electrons that travel from the sun to the Earth on solar winds, and are drawn to the magnetic fields found close to the North Pole. Once they reach Earth, they mix with gases in the atmosphere, causing the gases to glow. The result is a mesmerising light show that has fascinated people for thousands of years.
What month is best to see the Northern Lights in Iceland?
The best time of year to see the Northern Lights in Iceland is when the nights are dark, so from September through to April. The most important factor in being able to see the Northern Lights is darkness. From mid-April to late-August the skies at night stay quite bright thanks to the midnight sun, so even if the Northern Lights were active, they wouldn’t be visible.
From November through to February, the nights are longer giving you more chance of seeing the lights. However there is more chance of storms, cloud cover and bad weather which would not be ideal.
Can you take pictures of the Northern Lights with a mobile phone?
You can, but they usually won’t come out very well as they aren’t designed for the long exposures necessary to capture the lights in all their glory. Some phones however have special modes that allow you to take long exposures, but you will need to put your phone on a tripod so the photo isn’t blury. I’ve seen some great aurora photos taken with an iPhone so it can definitely be done!
What camera is best for photographing the Northern Lights?
The best camera for photographing the Northern Lights is a DSLR or mirrorless camera – ideally with a full frame sensor. As you will usually be shooting in low-light conditions, having one that performs well at high ISO levels is a benefit, as you will often be using ISO 1600 or higher. The important thing though is a camera that you are familiar with, as you’ll be using it in the dark. You don’t want to miss a shot as you’re not sure how to adjust the ISO settings!
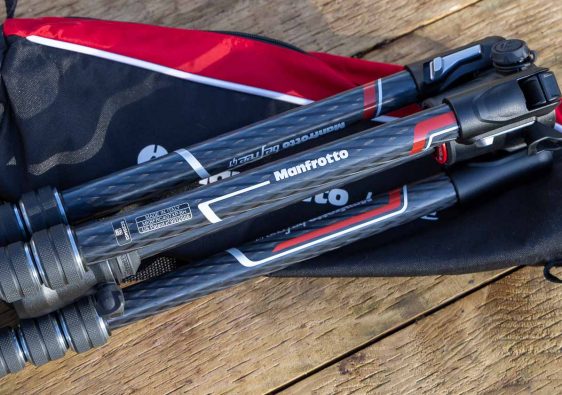
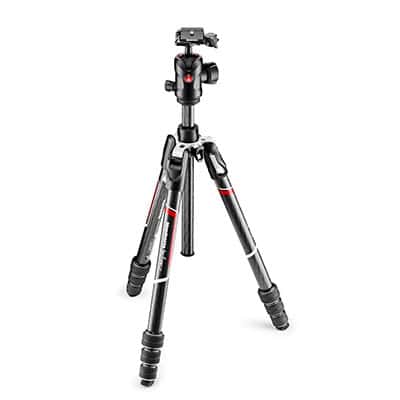
A sturdy tripod is useful too, as you will be using long exposure times of up to 15-25 seconds. You’ll also be on rugged terrain, and the weather will often be windy too.
What lens is best for photographing the Northern Lights?
A wide-angle lens is ideal, as this will allow you to capture the full display of the lights and night sky as well as some stunning scenery. A wide aperture is also beneficial as this will allow more light in, meaning a lower ISO for the same shutter speed. If your camera has excellent high-ISO performance, you can get away with f/4 but ideally you’d want f/2.8 or lower.
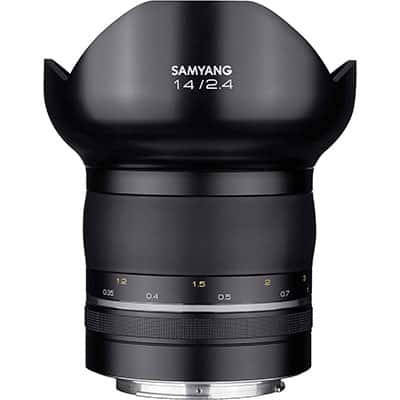
I started off with a used Samyang 14mm f/2.8 which cost less than £300, then upgraded to the slightly faster Samyang 14mm f/2.4. This lens is ideal for Northern Light photography and good value for money.
Where are the best places to see the Northern Lights in Iceland?
There are a number of great locations for photographing the Northern Lights in Iceland. Here are 3 of my favourites:
- Vestrahorn
- Jökulsárlón lagoon
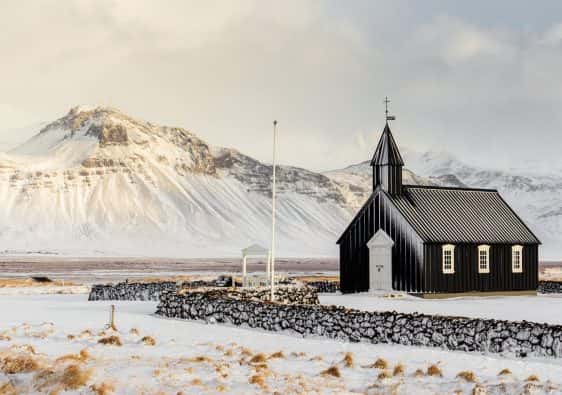
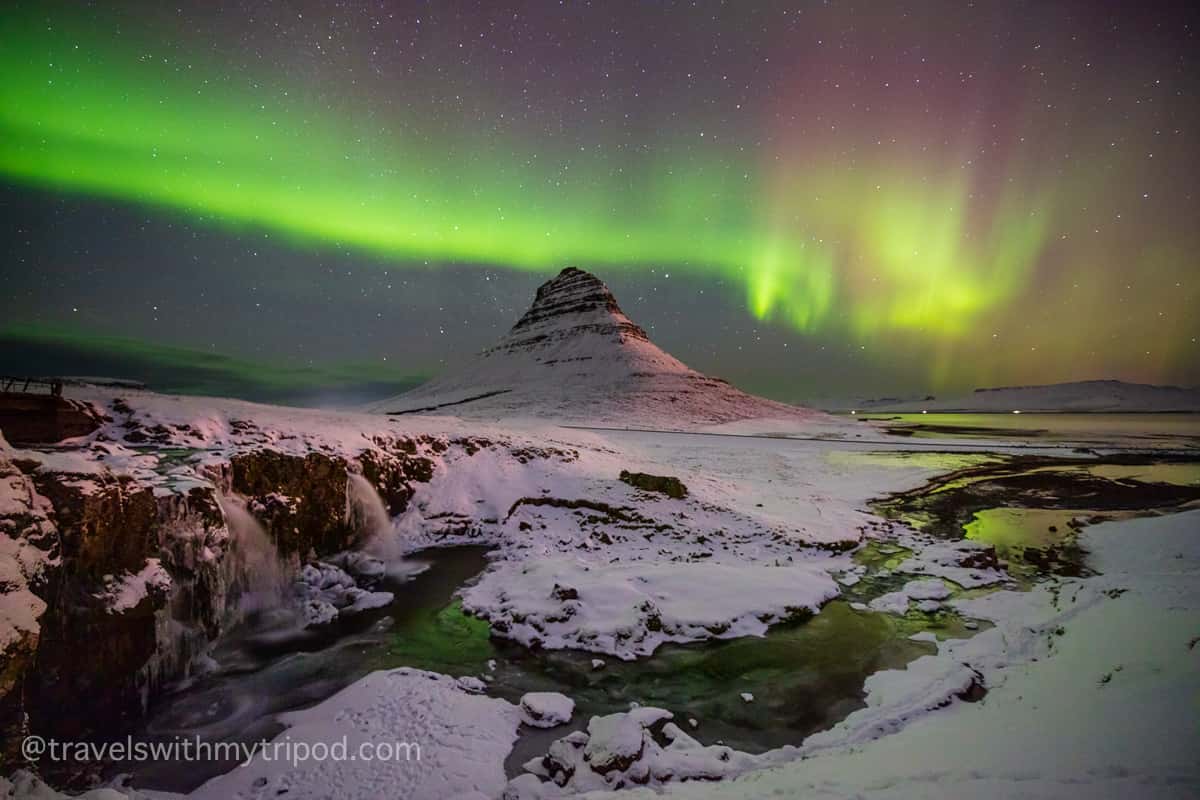
- Kirkjufell, near the town of Grundarfjörður on the Snæfellsnes peninsula
What camera settings should I use?
You normally need to use a long exposure time (15-30 seconds), with the widest aperture (f/2.8 or wider) to capture enough light. As the lights move around, you typically want to stay below 25 seconds to avoid them looking too blurry. This often means using a high ISO to get sufficient light – 1600 or 3200 are a good starting point.
The settings required can vary due to the fluctuations in the intensity of the lights, so it’s always good to keep checking your photos and adjust the exposure where necessary.
Most cameras will struggle to auto-focus in those low light levels, so it’s usually better to use manual focus and try to focus on a star point. It can be useful to pre-focus your lens earlier in the day, and some lenses have an infinity focus setting too which you can use.
What are the best conditions?
To view the Northern Lights, you need three things:
- Clear skies
- Darkness
- High solar activity
And maybe a bit of luck too, mixed in with a dash of patience. OK – so that’s more than three things, but you get the picture.
As the lights are not particularly bright, you need a night sky so any time from September to April is good. During the middle of winter there will be just 4-5 hours of daylight which gives a lot of opportunities for aurora hunting. As Iceland is very sparsely populated you don’t have to worry too much about light pollution unless you’re near somewhere well populated like Reykjavík.
Because the solar activity is high in the Earth’s atmosphere, any cloud will block your view of it so you need clear skies.
The main factor though is the solar activity. This is measured by the “Kp index”, and the higher the number, the higher the chance of seeing the aurora. There are various useful websites and apps that give a Northern Lights forecast for the coming days. I have a couple installed on my phone – one called “My Aurora Forecast & Alerts” and another called “Aurora Forecast.” A good weather app is useful too, although quite often the conditions change quickly so the best bet is to keep an eye on the sky yourself.
What clothes should I wear?
There are two things to bear in mind when photographing the Northern Lights in Iceland. One is that it us during the winter months, so the weather is likely to be very cold and windy. Secondly, you will likely be standing around in one spot for a while.
Winter weather in Iceland can be brutal with strong winds and freezing temperatures, so warm clothing is a must. If, like me, you venture down to the coast then waterproof boots are useful too.
To keep my feet warm I wore insulated boots, thick socks and heat packs under my feet. A neck warmer or balaclava will help keep your head and neck warm, and a warm hat is essential too. I wore a thin pair of inner gloves, and outer mittens from the Heat Company which fold back allowing full use of your fingers. They also have a little pouch to fit a heat pack in. They’re not cheap, but trust me – when you’re standing there on a cold night with sub-zero temperatures yet your fingers are toasty and warm, you’ll think they are worth every penny!
Another useful accessory is a head torch. Don’t be like me and buy the cheapest you can find. Invest in one with a decent output, and ideally one with different light settings including a red light. This enables you to see your camera close up without affecting anyone else standing nearby. You’ll soon realise how annoying it is when someone shines a powerful light in your direction and spoils your photo! Something like this Petzl Actik headtorch would be ideal.